Inventory Qty Adjustment
Setup Process
To adjust the quantity field on an inventory record via the system, click on:
Qty Field to Enter
Which Qty Field do you want to enter during this session?
Reason for Adjustment
Will the Qty Adjustment Reason be the same for all adjustments made in this session?

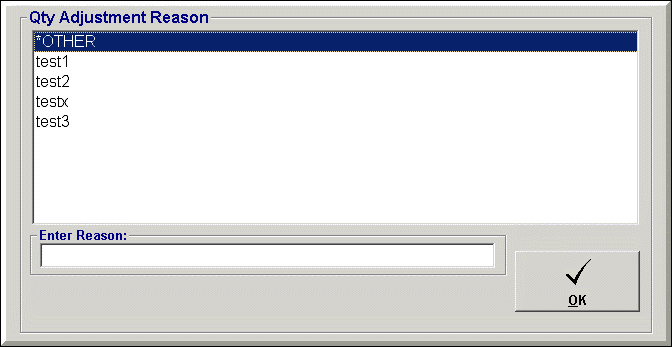
Select one of the reasons listed or *OTHER to enter a new reason and then click OK to continue.
(Note: for this option, the Qty Adjustment Reason screen will appear after each adjustment is entered.)
Additional Adjustment Fields
Additional Adjustment Fields was designed for users who would like to write off parts and update inventory without updating any daily sales figures (which would be updated if a “Store Use” account was used to adjust inventory).
Allow Entry Of Fields
Click Reorder Level to adjust the Reorder Level or Min field when adjusting inventory.
Once the Qty Field to Enter and Reason for Adjustment parameters are selected, click Next to continue.
Adjust Quantity On Hand
Store ID: select the appropriate store.
Remember Last Mfg Code: If selected, once a part is adjusted, the MFG code will display again to lessen the number of keystrokes required.
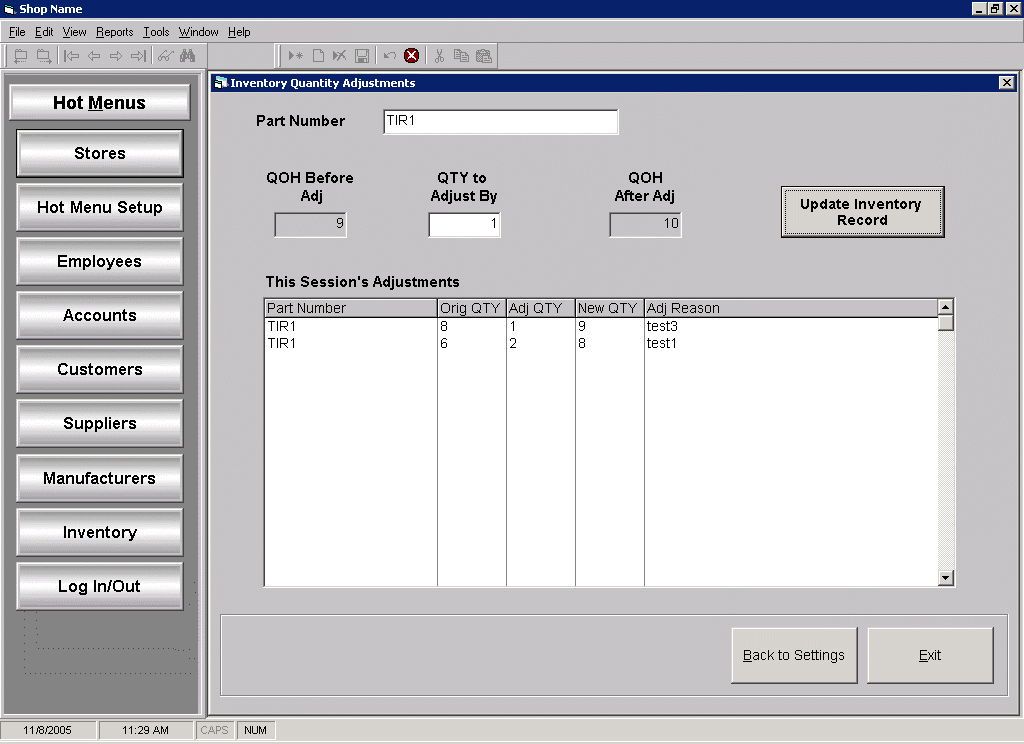
Part Number: enter the inventory part number to adjust and press Enter.
For the Enter Qty to Adjust By option, the screen will display the current QOH value from the inventory record and allow the user to enter a positive or negative value to adjust the QOH by.
For the Enter Qty After Adjustment option, the screen will display the current QOH value from the inventory record and allow the user to enter the resulting QOH.
If the Qty Adjustment Reason parameter is set to No, the user will then be prompted to select a Qty Adjustment Reason for the entry; select the value *OTHER to enter a new reason.
(Note: this screen will not appear when the Qty Adjustment Reason' parameter is set to `Yes'.)
Click OK to continue and the adjustment entered and selected reason will appear in the table below.

See also