Home > Counter Control Help Documentation > Menu Selections > Tools > System Utilities > Scheduler
Scheduler
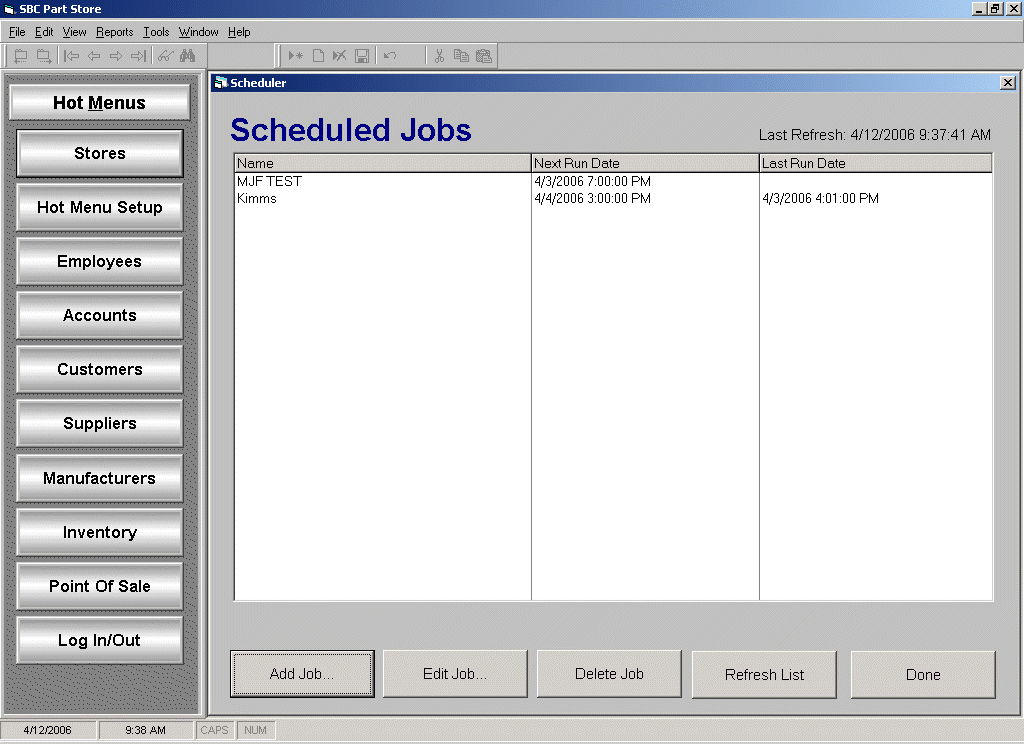
Once Task Groups are created and saved, they can be scheduled for automatic submission. You can define Scheduled Job(s) by clicking on:
TOOLS | SYSTEM UTILITES |SCHEDULER
- Click Add Job to add a new scheduled job.
- Click Edit Job or Delete Job to modify or delete an existing scheduled job, if applicable.
- Click Refresh List to update the screen with the most current information.
- Click Done to exit the Scheduler.
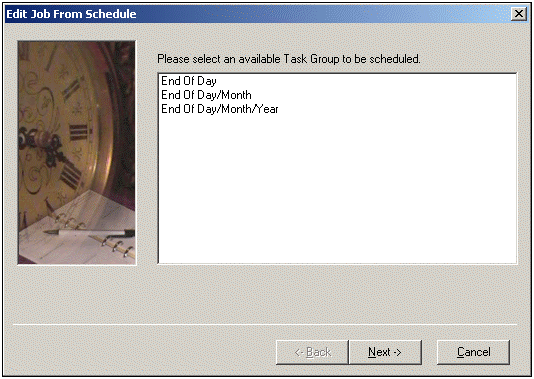
The following screen will appear when adding a new scheduled job or editing an existing scheduled job.

All saved Task Groups will be listed in the above screen and available to be selected for a scheduled submission.
- Highlight the Task Group to be used for a scheduled submission.
- Click Next.

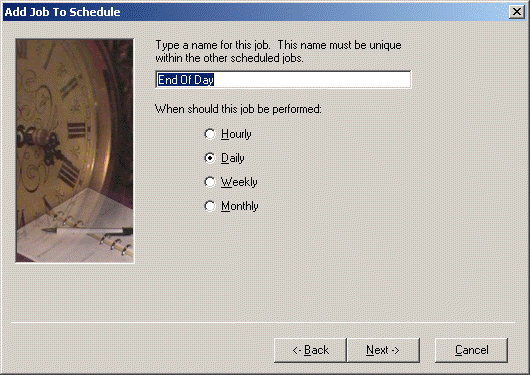
- Enter an easily identified name for the scheduled submission.
- Select when the job should be performed Hourly, Daily, Weekly, or Monthly.
- Click Next.

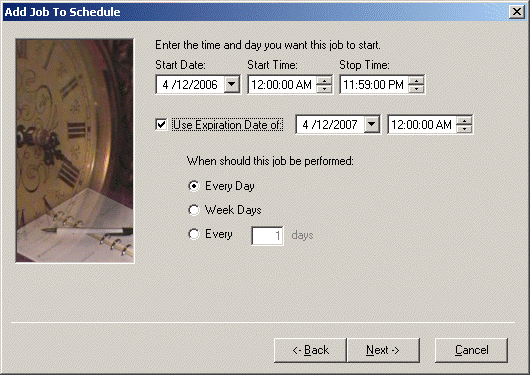
- Enter the date to start submitting the scheduled job in the Start Date field.
- Enter the time to start submitting the scheduled job in the Start Time field.
- Enter the time to stop trying to submit the scheduled job in the Stop Time field -- if the job hasnt started running yet.
- Check Use Expiration Date to enter a date in which the job should stop being run. When an expiration date and time is entered, the Scheduled Job will not be run if the current date and time is passed the expiration date and time.
- Select the submission interval frequency.
Note: This portion screen will vary based on the previously selected performance of Hourly, Daily, Weekly, or Monthly.
- Click Finish to accept schedule.
See also


