Before installing the application, determine how the computers will be utilized in the business environment. If there is only one computer, it will need to be used to both store the data and function as a workstation and the application should be installed as a Server and Workstation. In a multiple computer environment, determine the main computer that will be used to store the data. This main computer can then be set up as the data server and used only to store the data or can be set to function as both a data server and as a work station. If setting the main computer as the data server only, install the application as Server Only. If the main computer will store the data and also be used as a workstation, install the application as a Server and Workstation. (Note: the Server and Workstation setup includes both the server components and the workstation components.) Once the main computer is set up, install the application on each of the additional computers as a Workstation Only setup.
Execute the install of the application on the main computer where the data will be stored. When using multiple workstations, the application must first be installed on the main computer storing the data and subsequently on the individual workstations. The installation will verify the system requirements and display the default folder where the application will be installed.
Once you insert the Counter Control CD into CD-ROM drive, the install process should startup automatically. If the install disk does not startup automatically, double click on My Computer from the desktop and then double click on the CD drive.
Note: The installation may determine that updated program versions are required for the application. If updated program versions are required, the installation program will prompt the user to install the correct version and then continue with the installation.
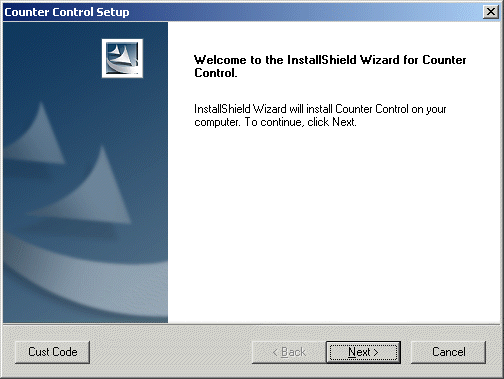
The beginning installation screen will appear:
The Installshield Wizard will guide you through the setup process. Click Next to continue with the installation process.
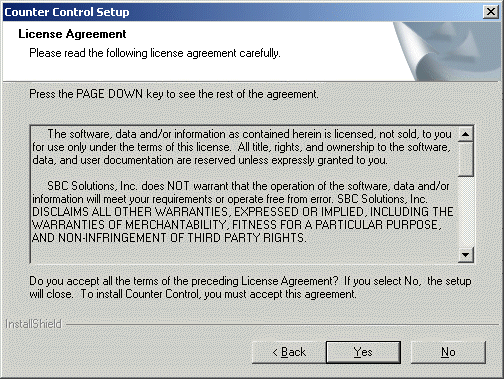
Read through the License Agreement and click Yes to continue the installation process.
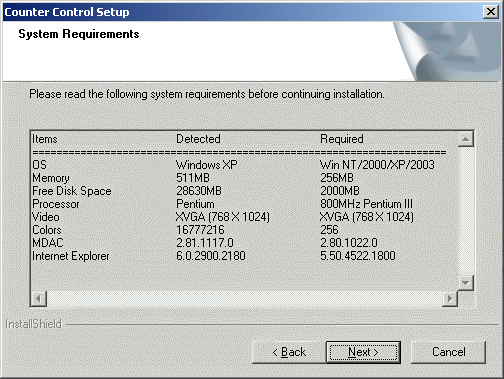
Please verify that your system meets the listed system requirements. If installed on a system without the listed requirements, the system may experience slower performance or not perform at all. Click Next to continue.
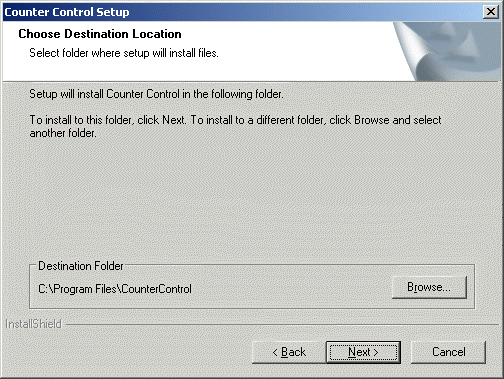
The application will create the default path C:\Program Files\CounterControl upon installation and install the program files in this folder. If applicable, the destination folder can be changed during the installation by clicking on the Browse button.
Click Next to continue the installation process.
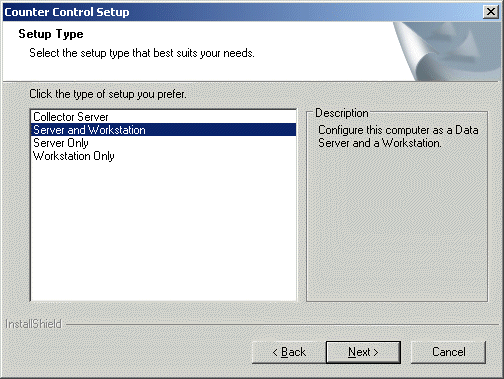
Select the appropriate the type of setup:
COLLECTOR SERVER - Configure computer as Collector Server. (Note: used for systems with centralized gift cards.)
SERVER & WORKSTATION - Configure computer as both Data Server and Workstation.
WORKSTATION ONLY - Configure computer as Workstation only.
SERVER ONLY - Configure computer as Data Server only.
If there is only one computer, it will need to be used to both store the data and function as a workstation and the application should be installed as a Server and Workstation. In a multiple computer environment, determine the main computer that will be used to store the data. This main computer can then be set up as the data server and used only to store the data or can be set to function as both a data server and as a work station. If setting the main computer as the data server only, install the application as Server Only. If the main computer will store the data and also be used as a workstation, install the application as a Server and Workstation. (Note: the Server and Workstation setup includes both the server components and the workstation components.) Once the main computer is set up, install the application on each of the additional computers as a Workstation Only setup.
Note: if the required operating system and server pack is not loaded on the computer, an error message will appear. Click OK and the Setup will exit.
Click Next to continue the installation process.
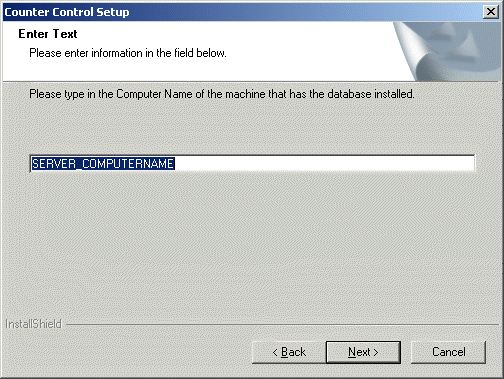
Note: this screen will only appear when selecting the Workstation Only setup type:
Type in the name of the server computer (previously installed) that this workstation will be associated with.
Click Next to continue the installation process.
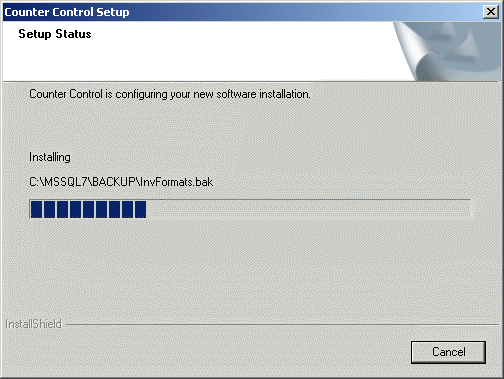
This screen will display the status of the program files being installed.
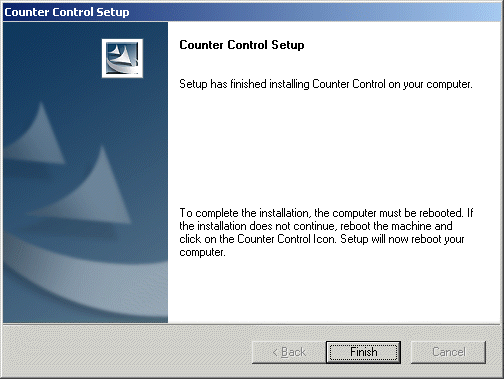
Once all files have been installed, click Finish to complete the installation and automatically restart the computer. (There may be a slight delay before this screen appears.)
Note: If the install does not continue, reboot the machine and click on the Counter Control icon.